Create the server from the RestoreCord Dashboard after your custom bot is connected. The dashboard checks bot access, server permissions, and role setup as you go.
Quick Setup
Open Dashboard -> Servers -> Add new server and follow these steps.
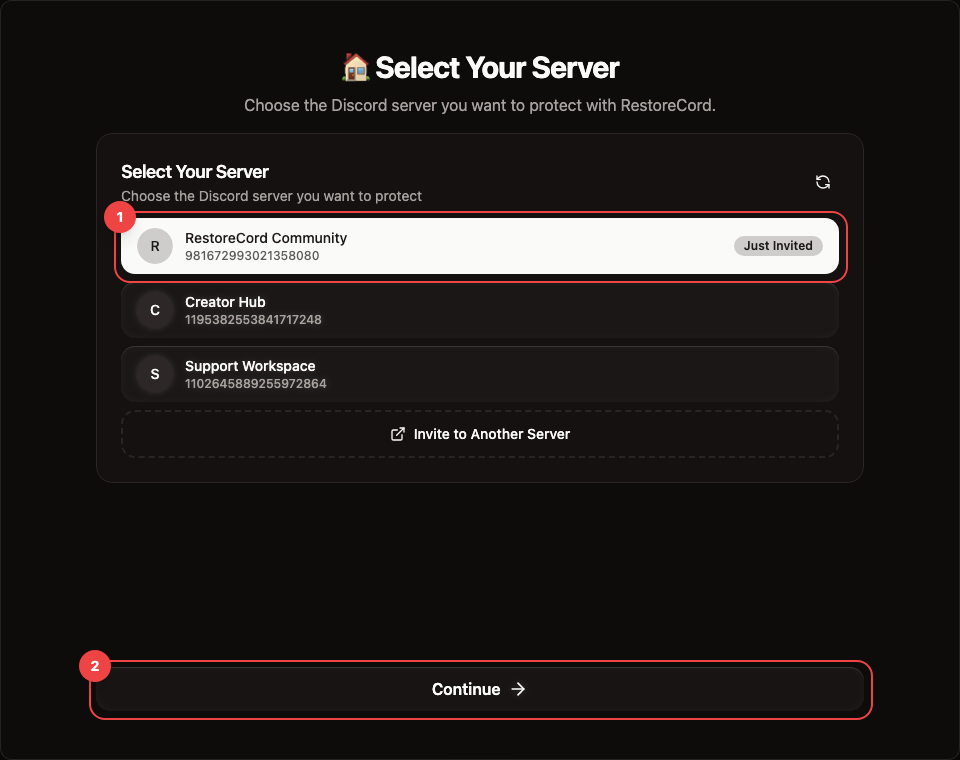
Choose the Discord server
Select the server where members should verify, then continue. If the server is missing, invite the selected bot or confirm that you are logged into the correct Discord account.
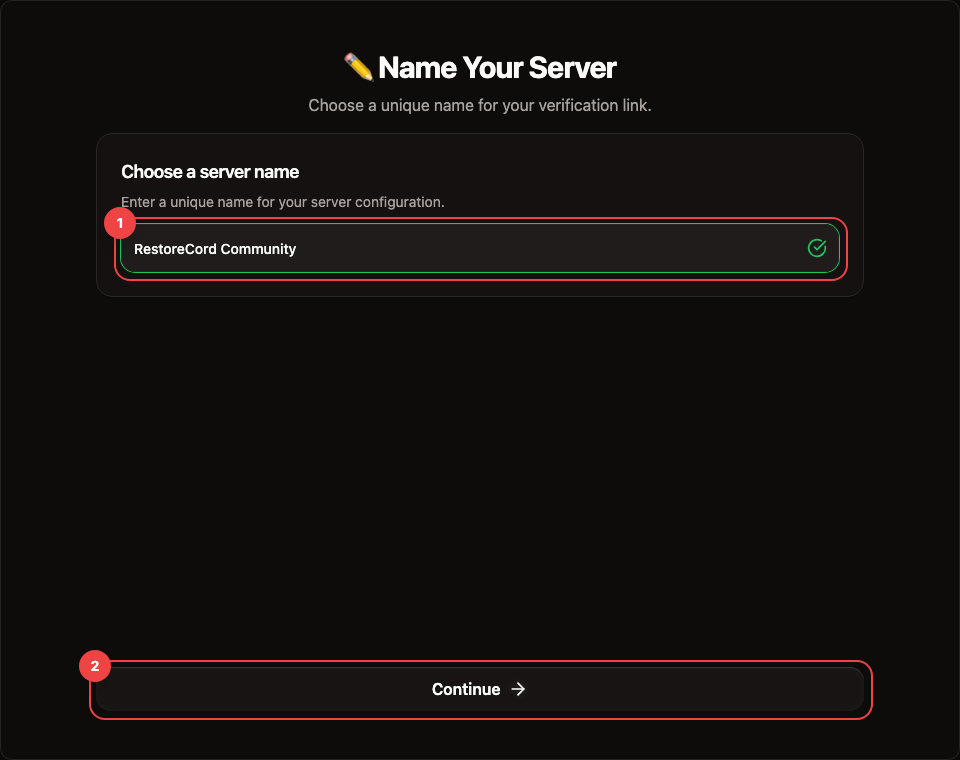
Name the RestoreCord server
Pick the name used for the verification link, for example https://restorecord.com/verify/your-server-name.
- Use a recognizable name.
- Start with a letter.
- Keep it between 3 and 99 characters.
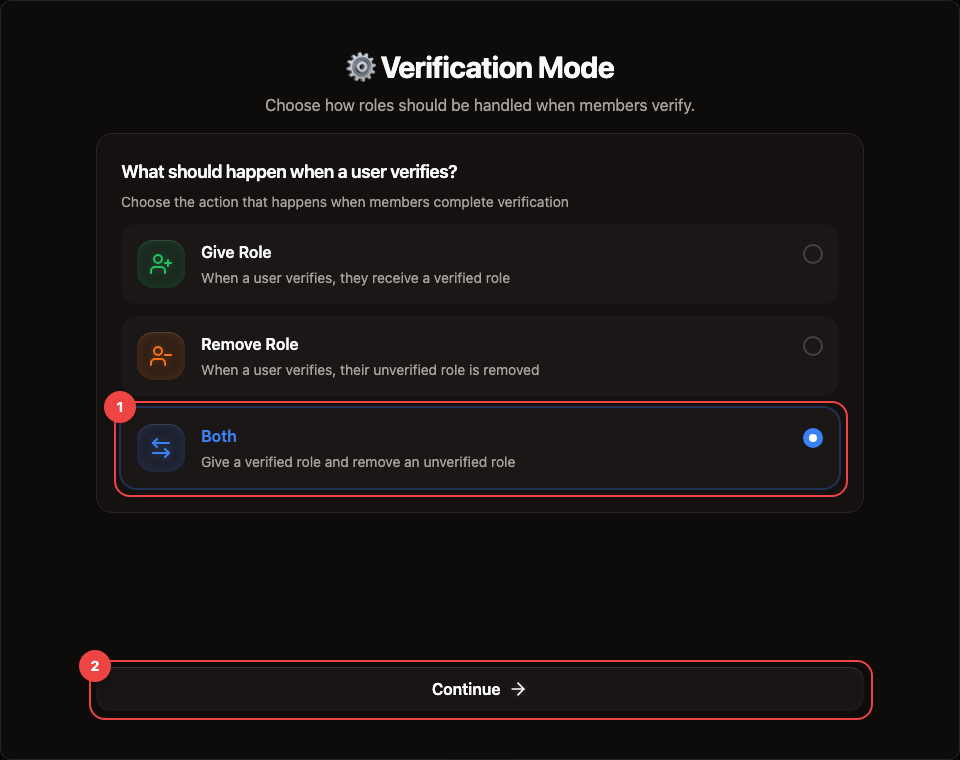
Choose what verification does
Select the role action that matches how your Discord server is locked down.
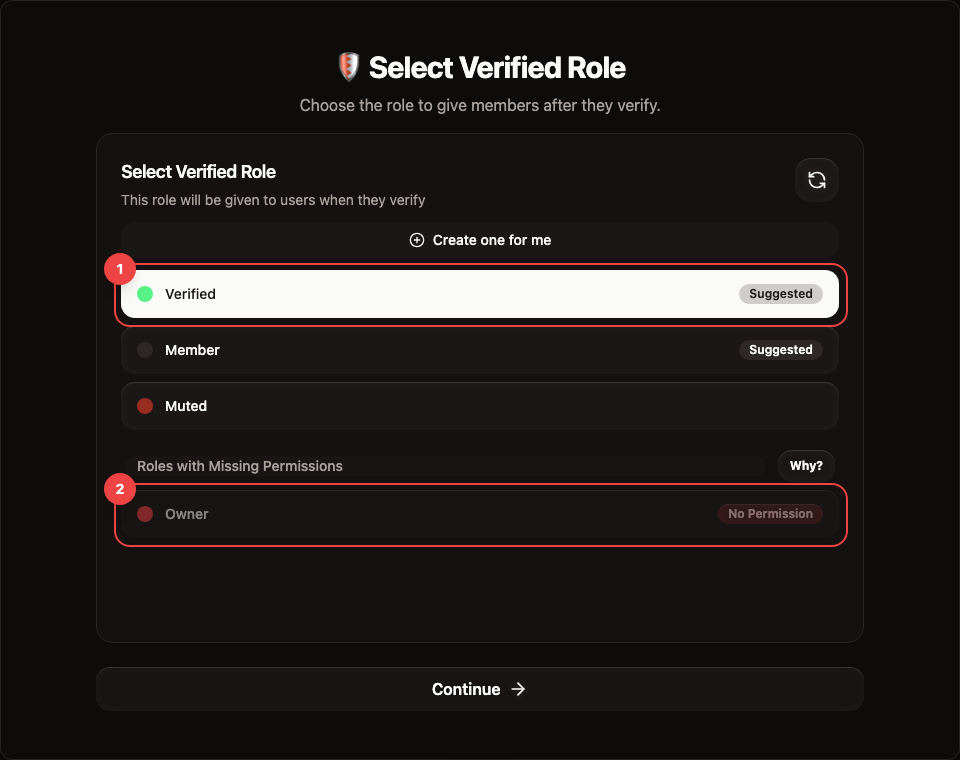
Select the role
Choose the role RestoreCord should add or remove. If the role does not exist yet, use the role creation option when the bot has permission to manage roles.
Role Behavior
- Mode
- Give Role
- Use when
- Members should gain access after verifying.
- What RestoreCord does
- Adds the selected verified role.
- Mode
- Remove Role
- Use when
- New members start with a restricted unverified role.
- What RestoreCord does
- Removes that role after verification.
- Mode
- Both
- Use when
- Verified members should gain a normal member role and lose a restricted role.
- What RestoreCord does
- Adds the verified role and removes the restricted role in one pass.
Finish Setup
After the server is created, open the Discord channel where members should verify and run /setup with the RestoreCord bot. That command publishes the verification message for your community.

If /setup does not appear in Discord's command menu, restart Discord and try again. If it still does not show up, contact RestoreCord support.
Expected result: the server appears in RestoreCord, the role action is saved, and members can start verification from the Discord message.